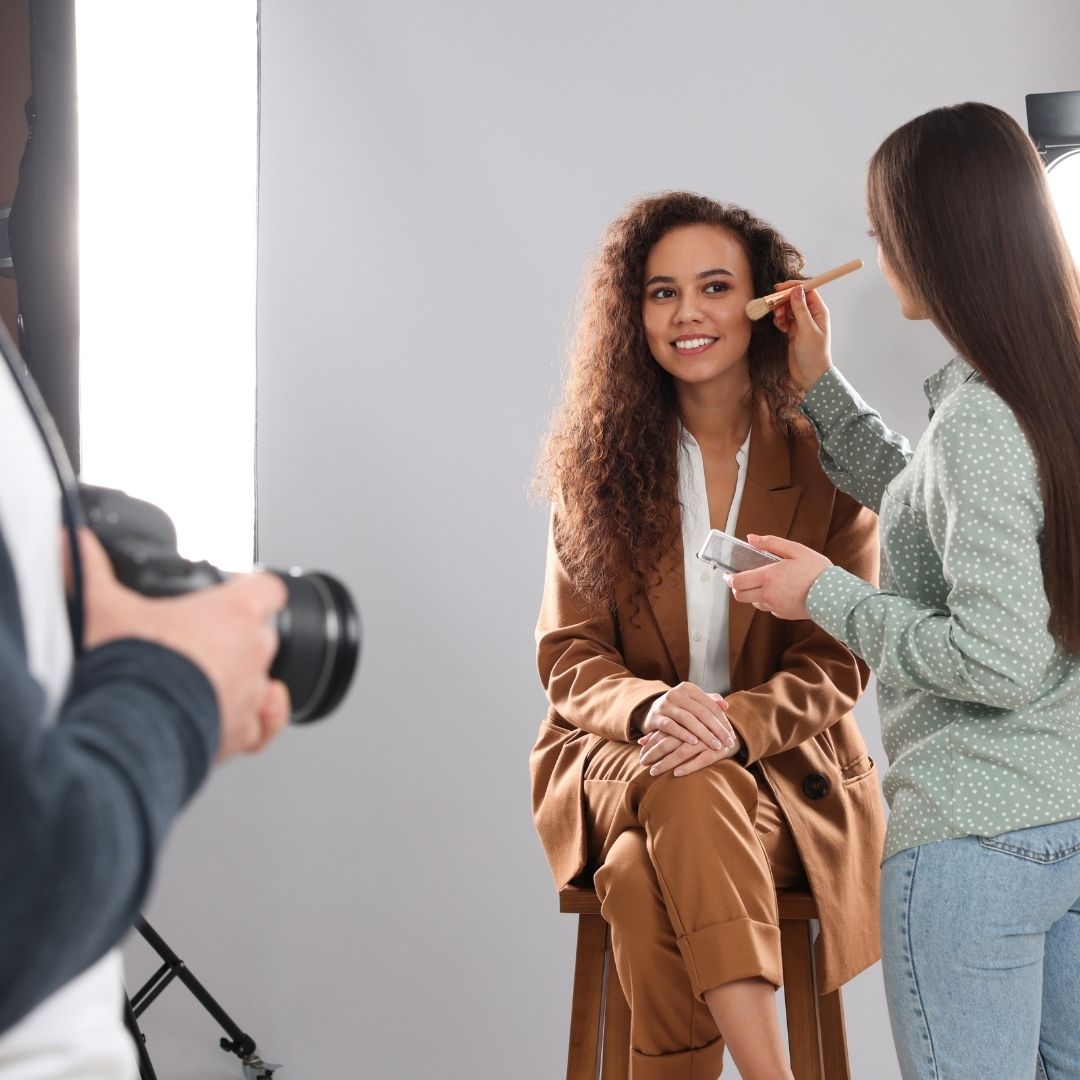
How to Pose for a Professional Photo
Having a great profile photo on Facebook, LinkedIn, Twitter or your company page may impress the social media friends you already know, but it can be even more important for your first impression shot to make the right impression on one’s you don’t know yet — especially when they might be deciding whether to hire you.
As a side note, the crossed arms are cliched and over-done. In fact crossed arms send all sorts of incorrect messages as far as body language is concerned. So without further adieu, here are the remaining tips for mastering any professional online impression.
1. Background.The type of background is important, try to have some design details, rather than an empty neutral white wall, which is dull and reminiscent of passport photos. The key is to have a background that will allow your head shot to pop. A plain background works best, but if the subject is in a crowd or busy area, blur the background as much as you can with the help of a telephoto lens. The background adds context to the image, so avoid having the composition being too tight.
2. Standing Pose: Simply shift your body into a three quarter turn, putting your weight on your back leg. So that the camera is shooting you at an angle. Next, shift your torso (or chest and head) to face the camera. To perfect this look, you next want to pay attention to your arms.
Men who want big arms in their photo should keep them pressed against their sides, angled slightly towards the camera.
Women, on the other hand, should keep their arms away from their body to avoid an effect that widens the arm. This can mean lifting the arm slightly away for the sleekest look.
3. Sitting Pose: For men, sitting is pretty straight-forward. To look bigger than you are, you can always spread your knees slightly wider than hip width to inhabit a lot of space and angle your whole body towards the camera (lean forward towards the camera). For a leaner look, follow the same guidelines as for standing, detailed above.
For women, seat yourself at the back of the chair in a diagonal direction so that your knees are facing to the left/right of the photo but your face is directed towards the camera. You may cross your ankles or simply place your one foot a 20 cm ahead of the other, knees together. You have a few options when it comes to arms:
● you may gently lean on the arm of the chair
● place your hands in your lap with one hand on top of the other
● Lean towards the camera and rest one wrist over the other
4. The main objective for face and neck positioning in photos to avoid a double chin, as most people can easily create one just by posing the wrong way. For the quickest, easiest fix possible, simply lift your tongue behind your front teeth. This action naturally tightens the muscles of the neck. Go on, give it a try!
We hope that you’ll use these tips to create your best digital impressions possible. Not only will you have some great business portrait shots, but because you know what sort of outcome you want, you’ll feel more confident working with the photographer too.


